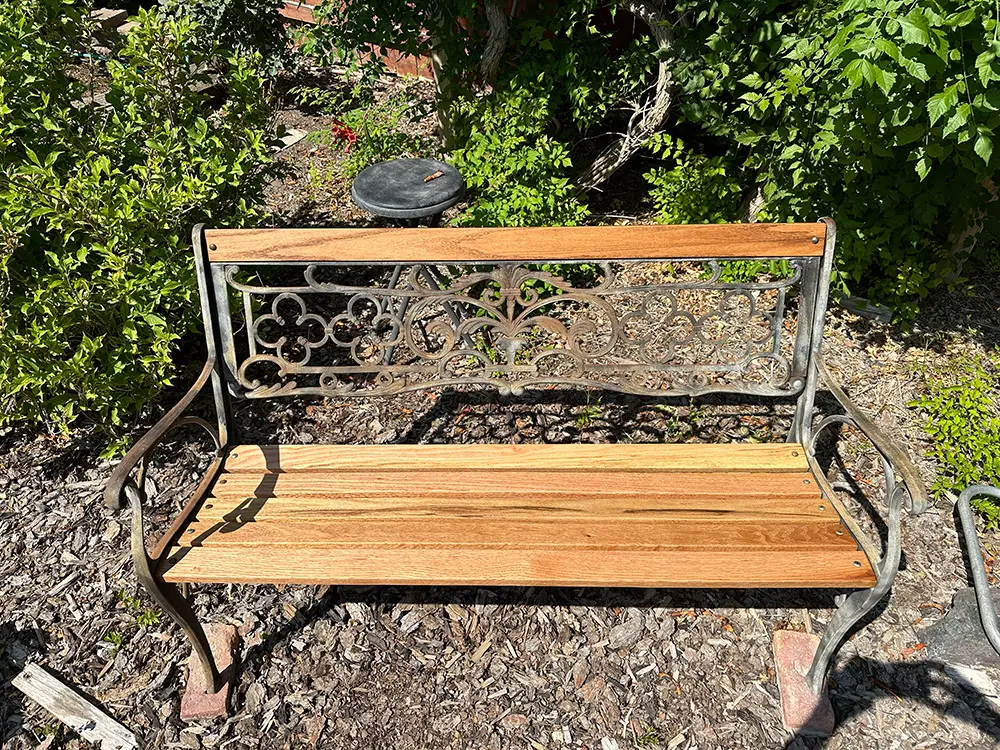
My mom has an antique garden bench. It is not necessarily fancy or anything, but she likes it and it has a nice place in her garden. A while back we tried to restore the original slats. While we extended their life for a couple of years, they soon began to give out permanently, as you can see via the photo below. As my mom was online shopping for a new bench, Luke and I offered to renovating the old bench with new wood slats.
I take after my mom with my mind for sustainability and reusing anything I can. So, if the iron frame was still in good shape and she liked the design, we decided we might as well keep the frame and just replace the slats!

Preparing the New Slats
We chose red oak for the slats. We thought this wood looked nice, and would be pest and water resistant enough for the garden. It’s also as hard wood, which we hopefully meant it would be long lasting and durable. We also chose the buy new slats that were just slightly wider and about double the depth of the old slats. This choice was also made with the goal of longevity and durability in mind. Our first step after obtaining the lumber was to sand the slats with 80 grit sandpaper, followed by 220 grit.
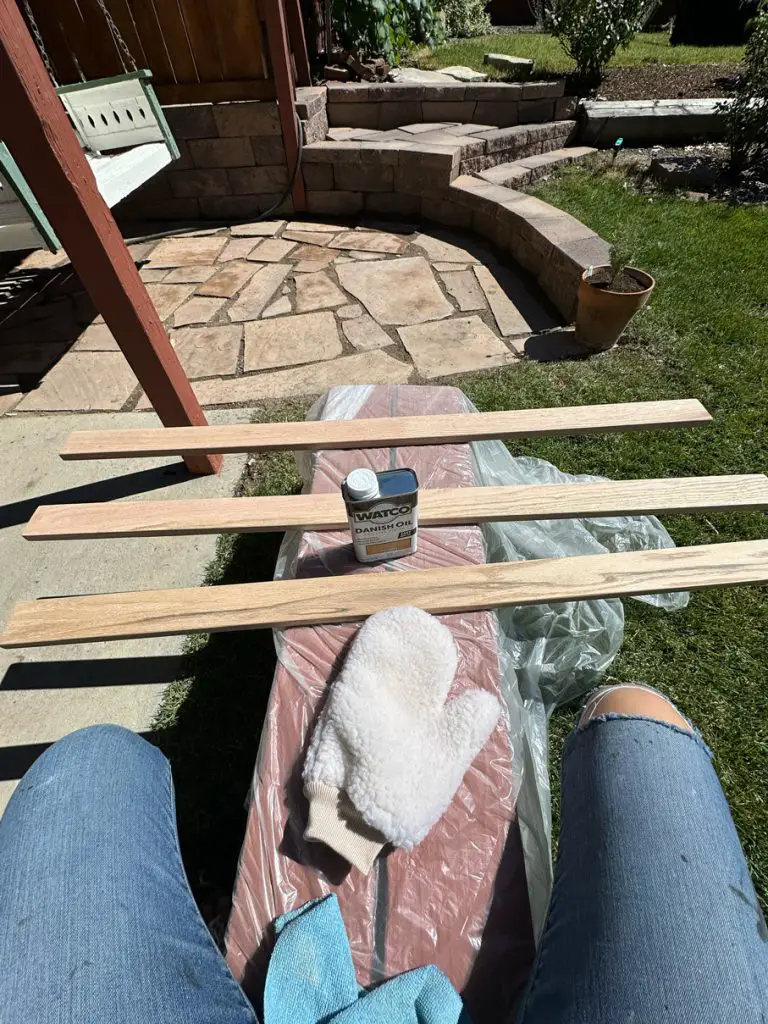
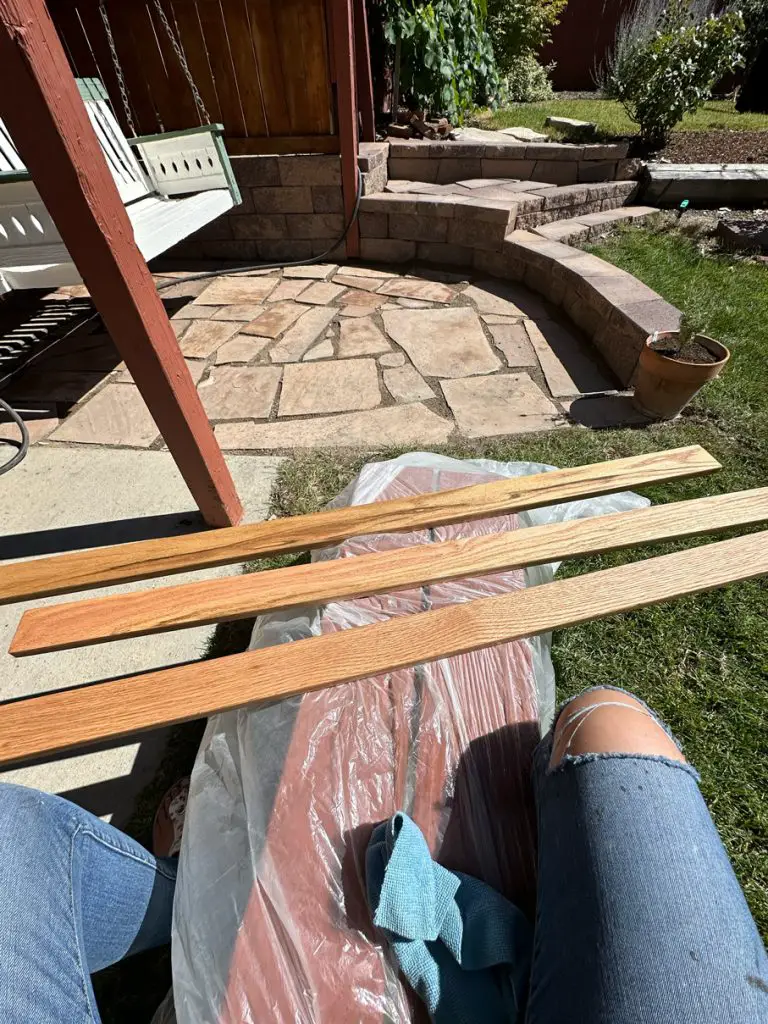
At this point, we put our first layer of Danish oil on the slats and let the oil cure for a couple of days.
Next, we fitted the slats for hardware so we would not have to mess around with tooling the wood after the final rounds of sanding. Then we found a spot inside where the temperature would be more controlled and started our next rounds of sanding.
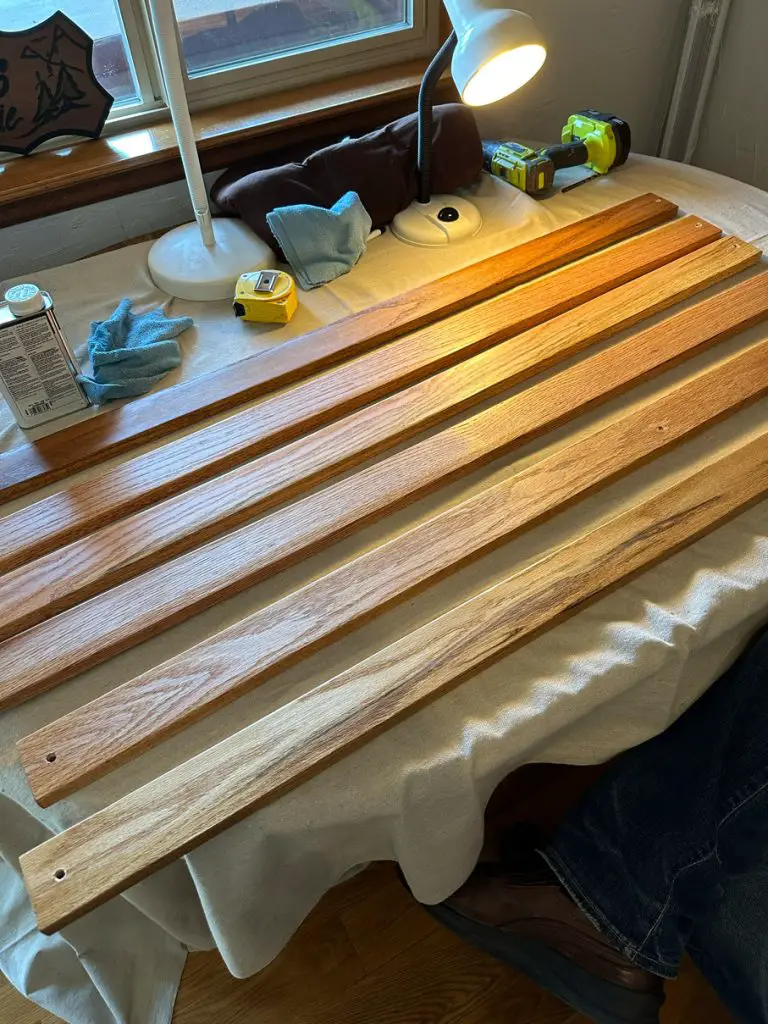
We did one more round of sanding with 220 grit sandpaper and then applied another coat of Danish oil. The final round of sanding was with 320 grit sandpaper. Then we applied a final, very thin, layer of Danish oil. Lastly, we allowed the oil to cure for about 10 days indoors. We would wipe the slats about once a day with a microfiber towel, just to make sure the oil was curing evenly.
While sanding may be a more tedious part of any woodworking project, the end result was SO worth the many rounds of sanding. Let me just say we could have sat bare-bottom on that bench and been very comfortable.
After 10 days of allowing the Danish oil to cure, we assembled the bench and it was ready to start serving its purpose in garden parties!

Final Thoughts on Renovating an Antique Garden Bench
Having the skills to renovate older projects is great for many reasons. It can help us keep sentimental items for longer periods, or it can help keep older items out of the landfill. Either way, simple woodworking projects like this can contribute to a sustainable lifestyle and a sustainable future for us all.